Thursday, October 24, 2013

The Pajama Jam has started.....Me and my pajama pants...all the flowers and color reminds me of spring and summer and so I chose this fabric.....Just as a side note: the fabric was costly and I can buy a pair of pajama pants for less than what I am about to make them for...sooo that being said...I feel like they are Priceless Pajama Jam Pants because; I MADE THEM......Hahahahaha!!!;-).....
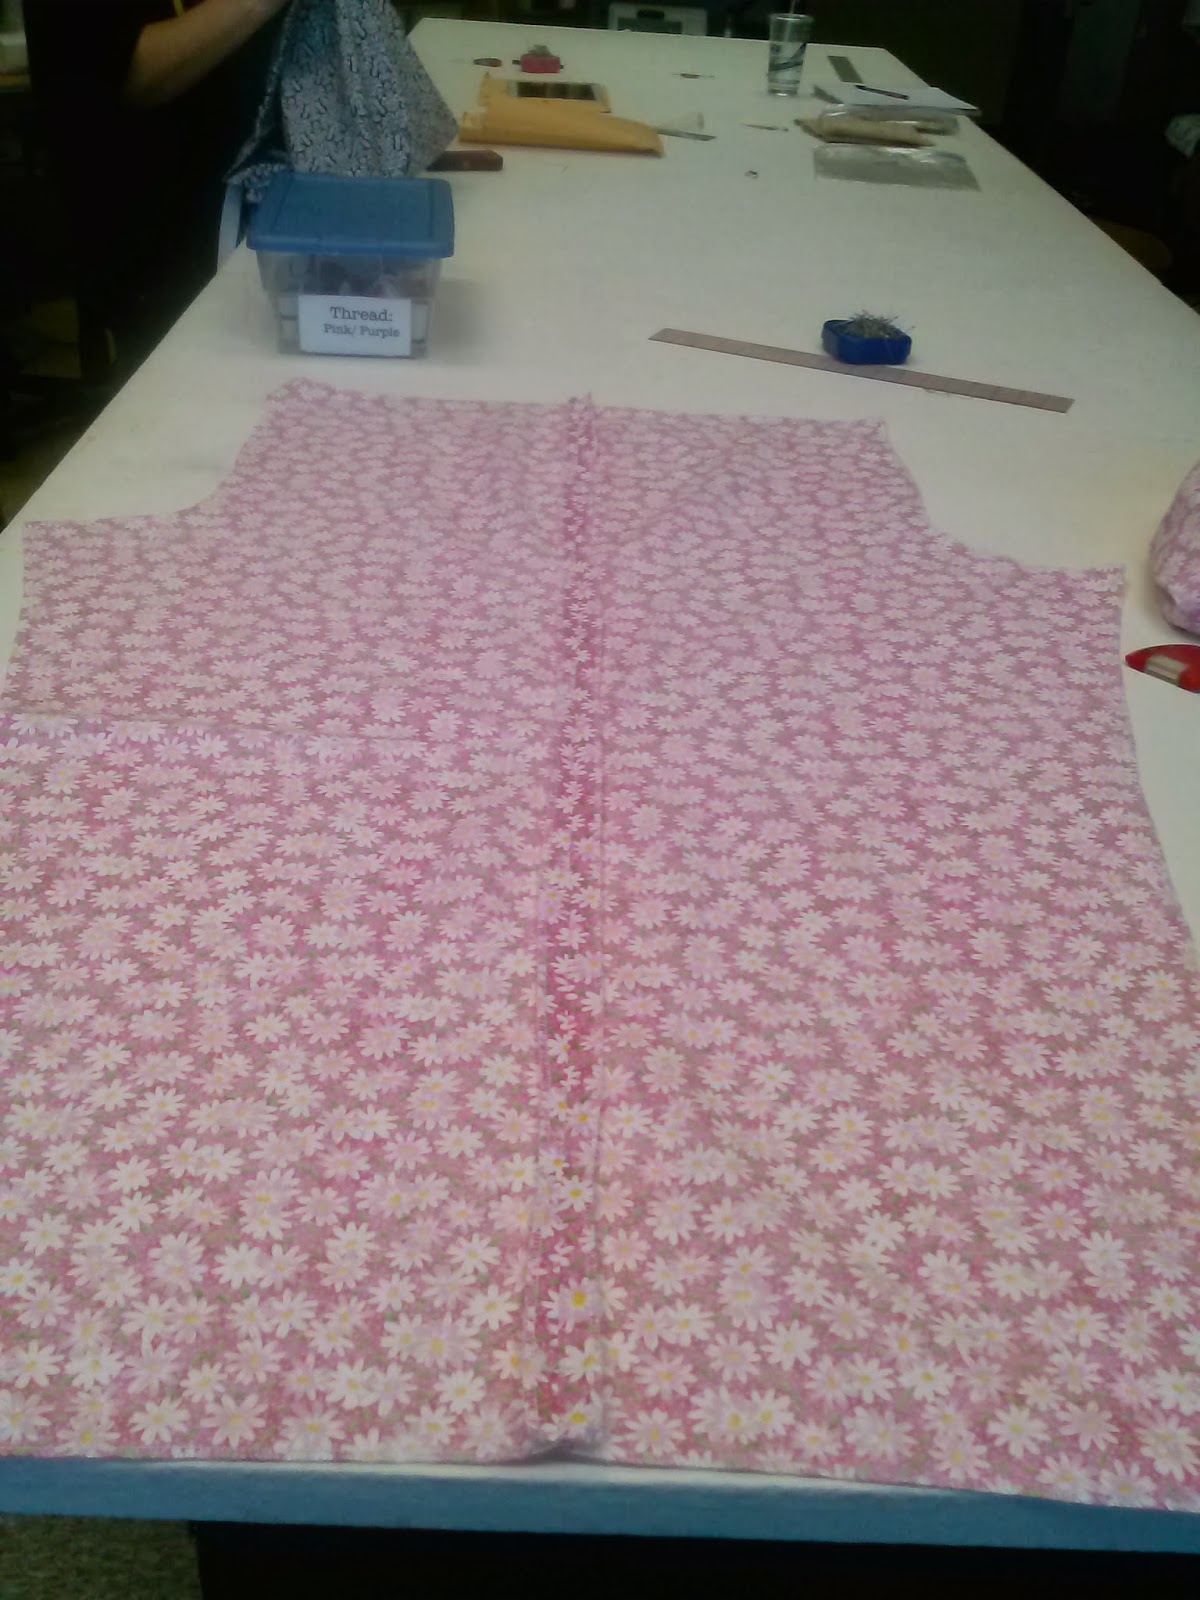
So, the first step is to take out your pattern pieces and iron them if they are really wrinkled, this will help it lay better on the fabric. Next, cut the pattern out, be careful not to cut off what you need, throw the excess away. Now we are ready to pin, but first we have to fold the fabric selvedge edge to selvedge edge and you may need to press material out.

**Again another side note: It is better to wash the fabric first to get the chemicals out and also allow any shrinkage or change in fabric to occur naturally**.
"OF COURSE I WEAR A SIZE 12 AND WEIGH 126LBS"...LOL
"OF COURSE I WEAR A SIZE 12 AND WEIGH 126LBS"...LOL

Okay, here we go........ Lay the pattern on the fold of fabric , now look lay it about 1/2 inch from fold so that when you cut it out it will not be a solid piece of fabric instead of two pieces like it should be. Once you have it laid out begin to pin it to the fabric along the edge all the way around the piece. Finished? Now you can CUT........Yep, that's right, cutting time. Repeat the same step for the other leg as well. All done.
Well alright, let's SERGE IT!!!....What a funny looking sewing machine huh??

And........the Serge is on!!.......GO! GO! GO!
NOTE: You want to serge all sides, watch that blade that trims off the excess fabric for ya and be sure to leave a tail or your tail will be caught up trying to re-thread this monster. No Back Stitching is Needed...Thank ya!.....lol....

On to the next phase................................

Time to join the legs together....okay now be sure to sew a back side with a front side or you will be a seam ripping sew-n-sew (hahaha!)........Be sure to do this part correct and it will be nothing but smooth sailing.

After each seam you should press them out with a iron, it helps manage the fabric better and it makes it neat.............and now ....TADA!!! we have two separate legs and we are ready to join the at the hips....hahaha!! (maybe not so funny)

Look above ^ Turn one of the legs inside out and stick it inside the other leg and pin the "U".......They should be match each other. The waistband is next it should be 1 1/2" inches wide, then sewn, but leaving about 2" inch opening to insert elastic or drawstring.
To insert elastic or drawstring, safety pin the end of the belt or elastic and start to work it through the band until you meet back up at the 2" opening.
If you use a drawstring then the job is done press and wear. But, if elastic is used after you have pulled it through then you will need to close the 2" gap and also sew the elastic together first at the ends to join it together before closing the gap.
This is the finished product........These have a draw string instead the elastic......reason for this will not be disclosed....lol


To accent the "Pajamie Jam Pants...I added this cute Victoria Secret to SPICE things up a bit.....;-)

"Nighty Night!"

No comments:
Post a Comment